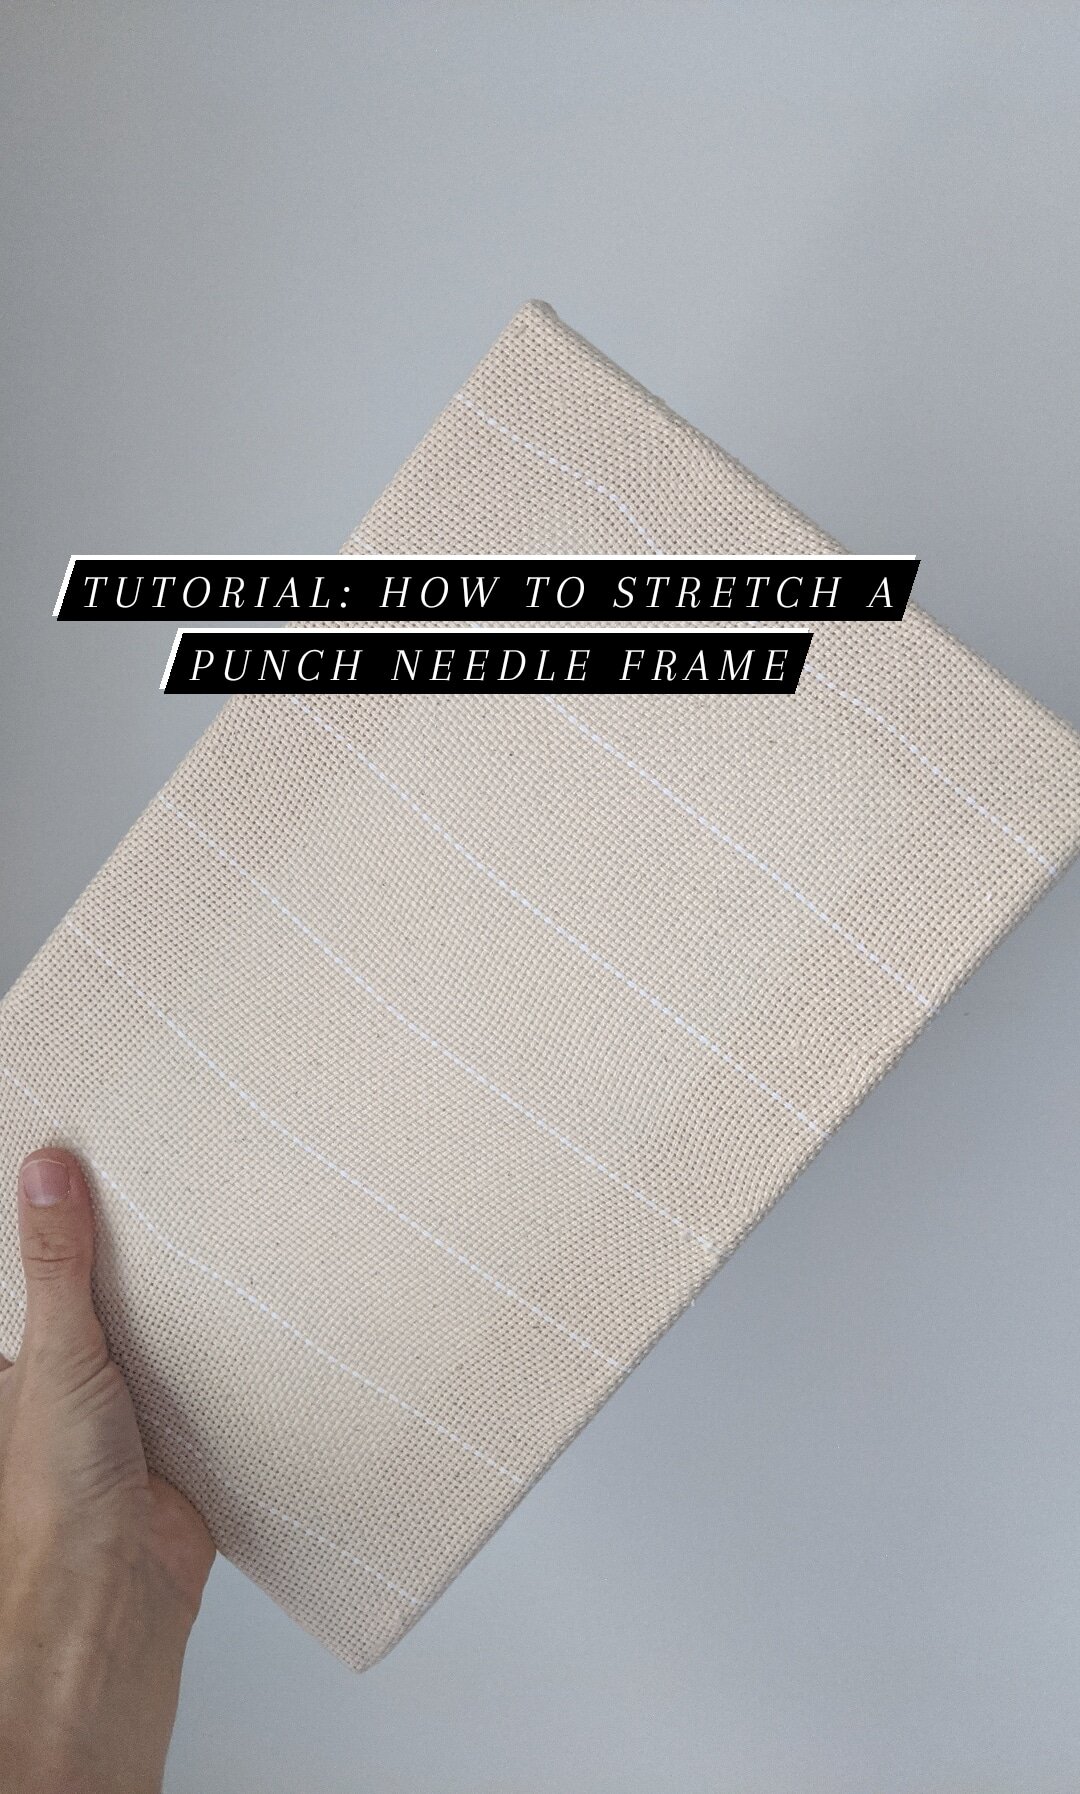
How to make a punch needle frame
Here is my step-by-step guide (with pictures!) for how to make your own punch needle frame. You will need to invest in canvas pliers and a staple gun but once you have all the supplies on hand it’s pretty easy and saves lots of money. The frames can be used over and over again and you can even take the bars apart for travel/storage. You can make them any size too! See the pictures below or scroll all the way to the bottom for the directions typed out.

How to make a punch needle frame:
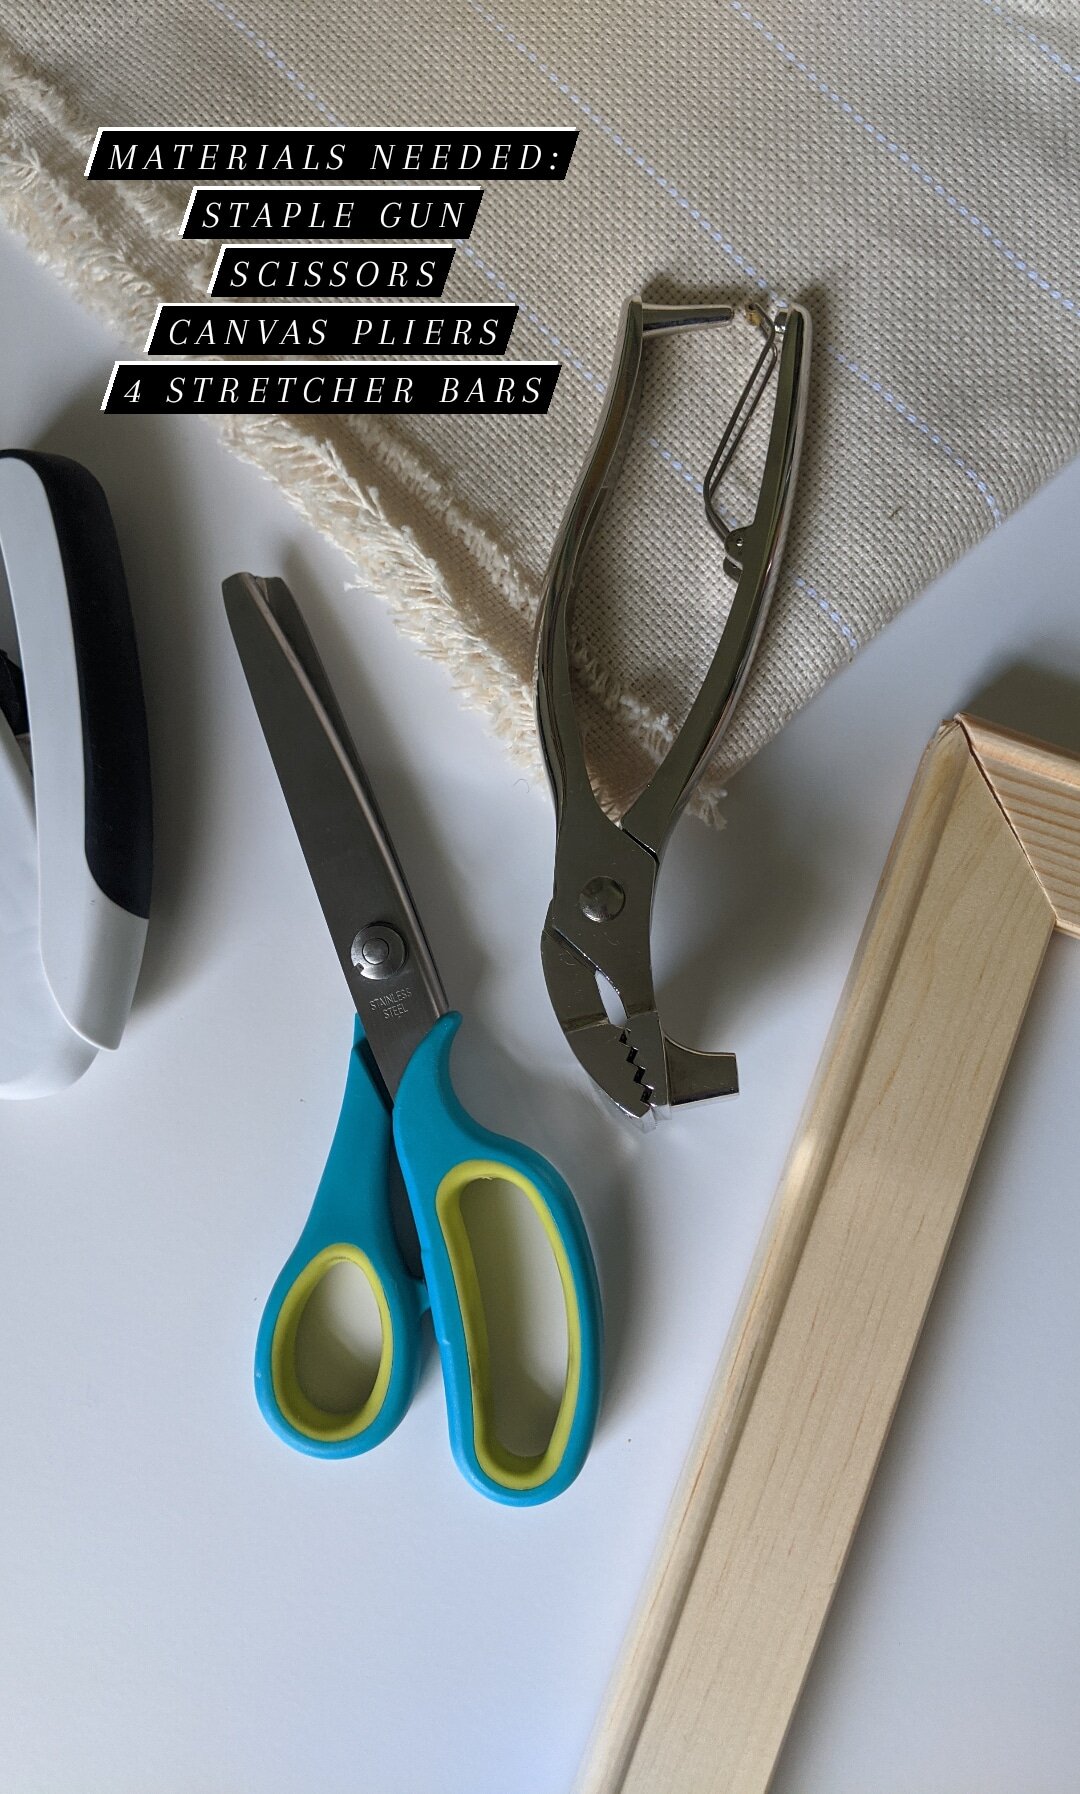
Grab your materials: staple gun, scissors, canvas pliers, 4 stretcher bars
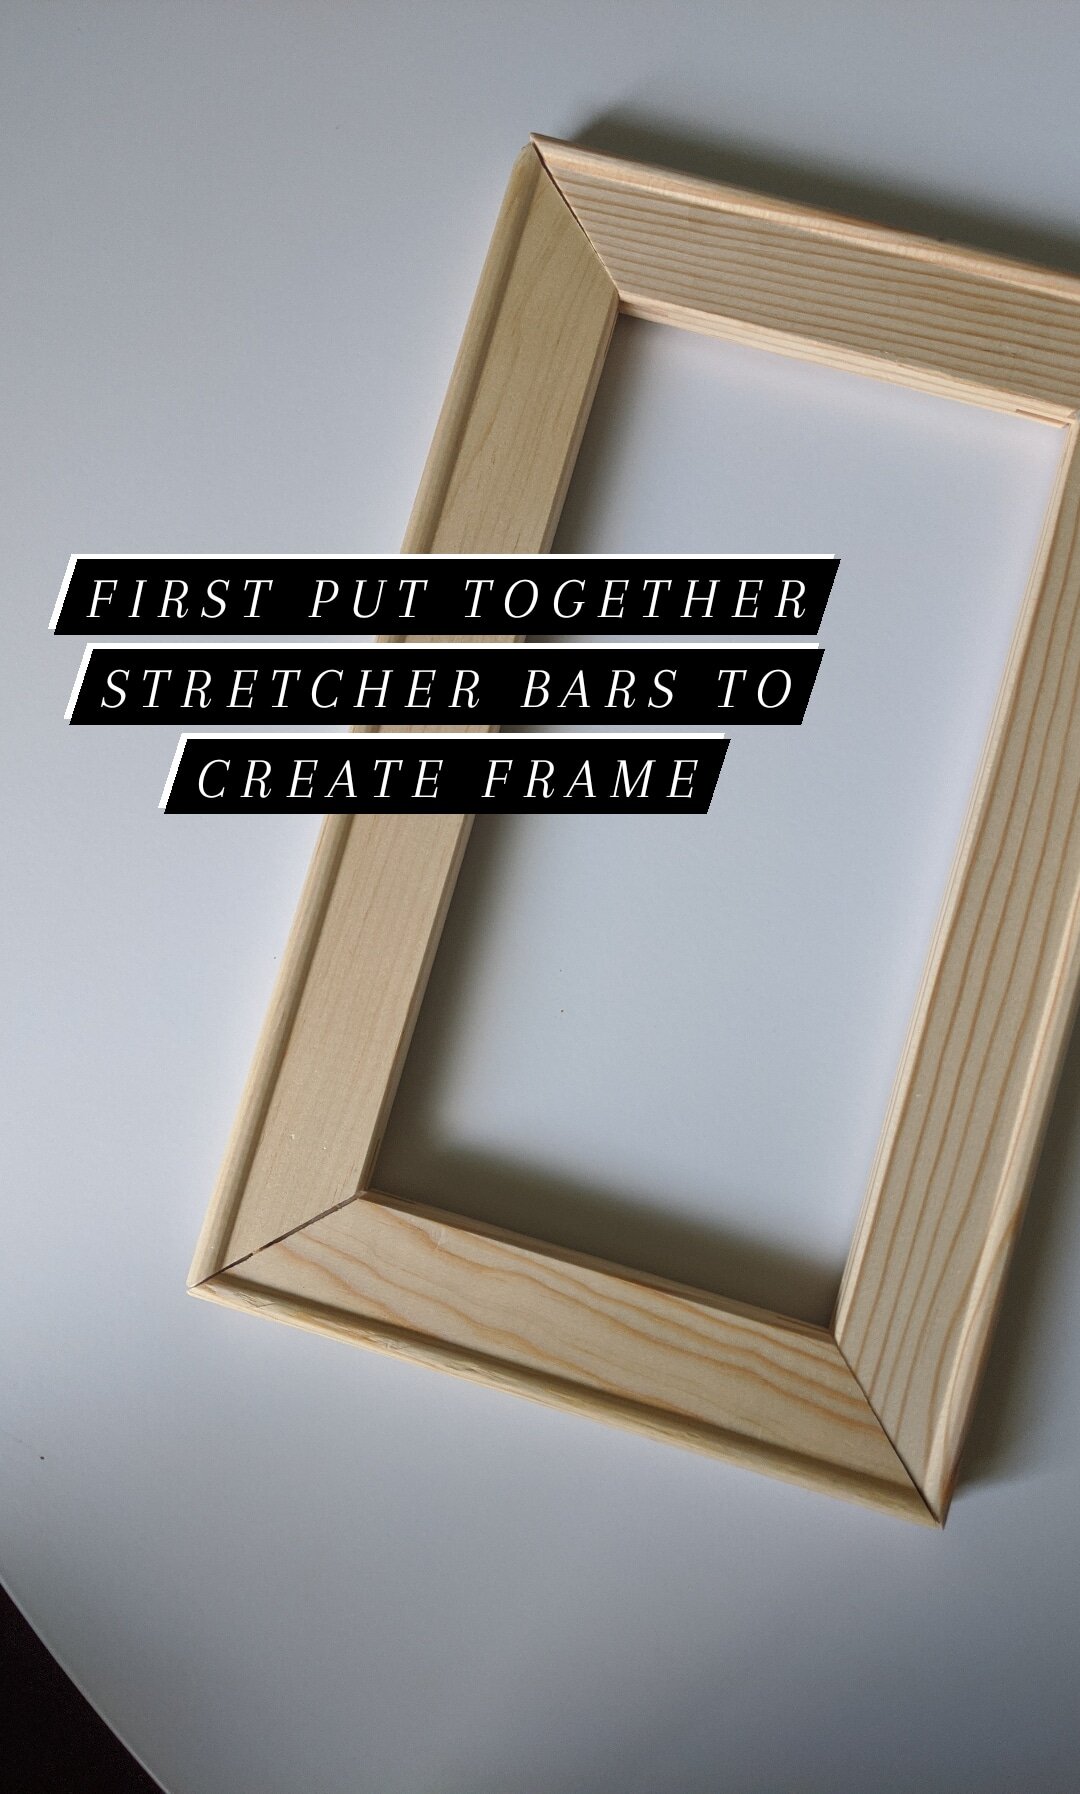
Put together stretcher bar frames
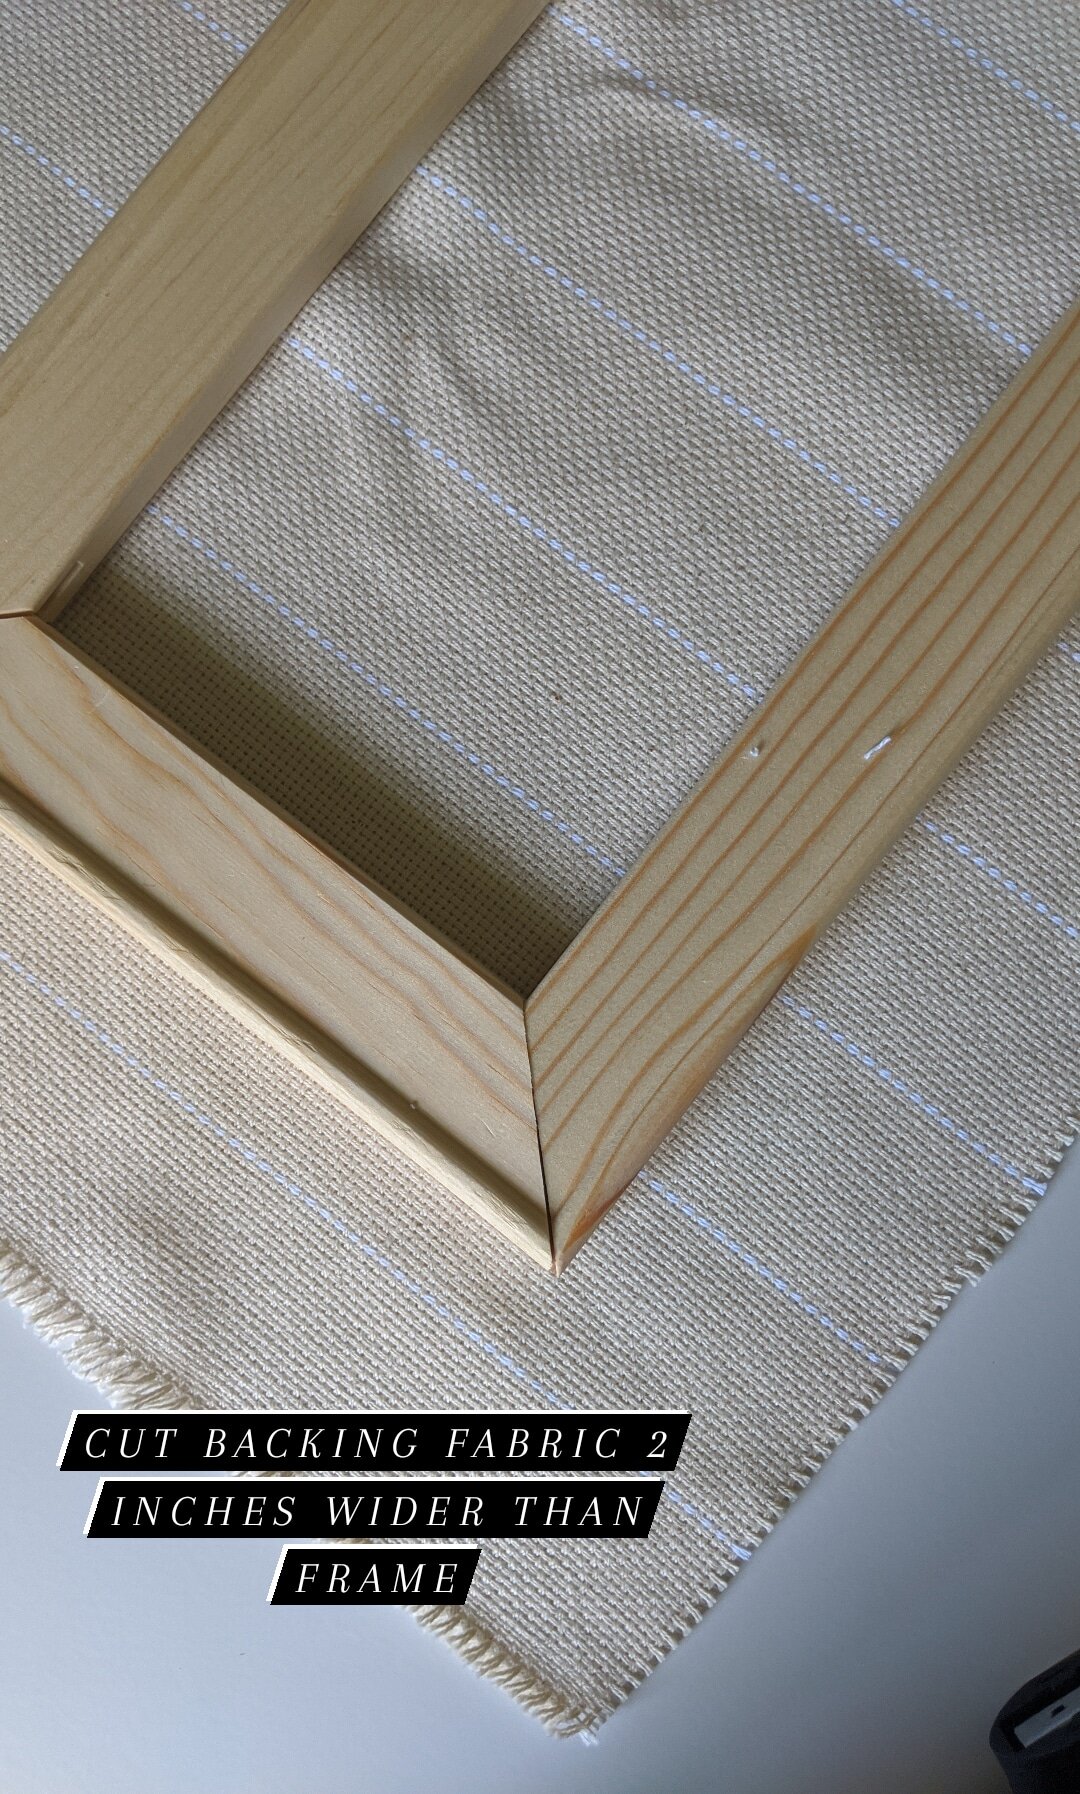
Cut backing fabric 2 inches wider than frame (I’m using monk’s cloth here)
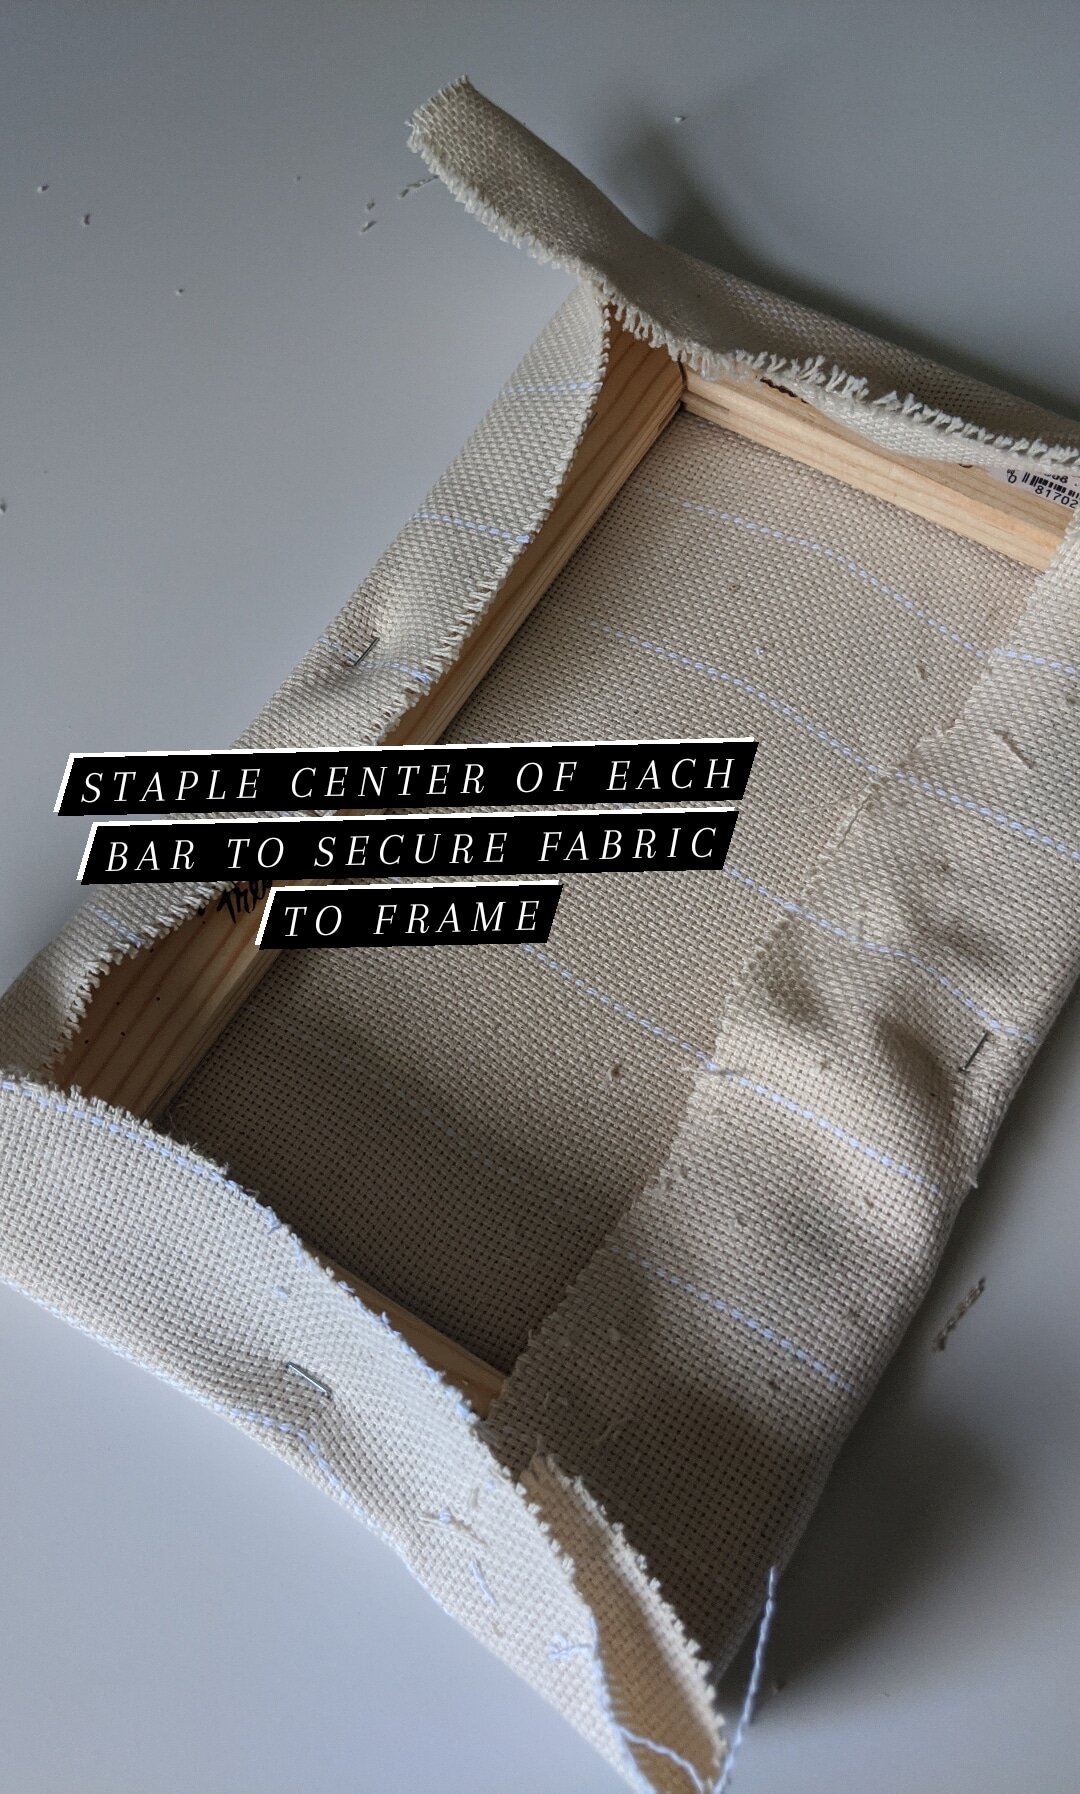
Staple fabric onto center of each bar to secure
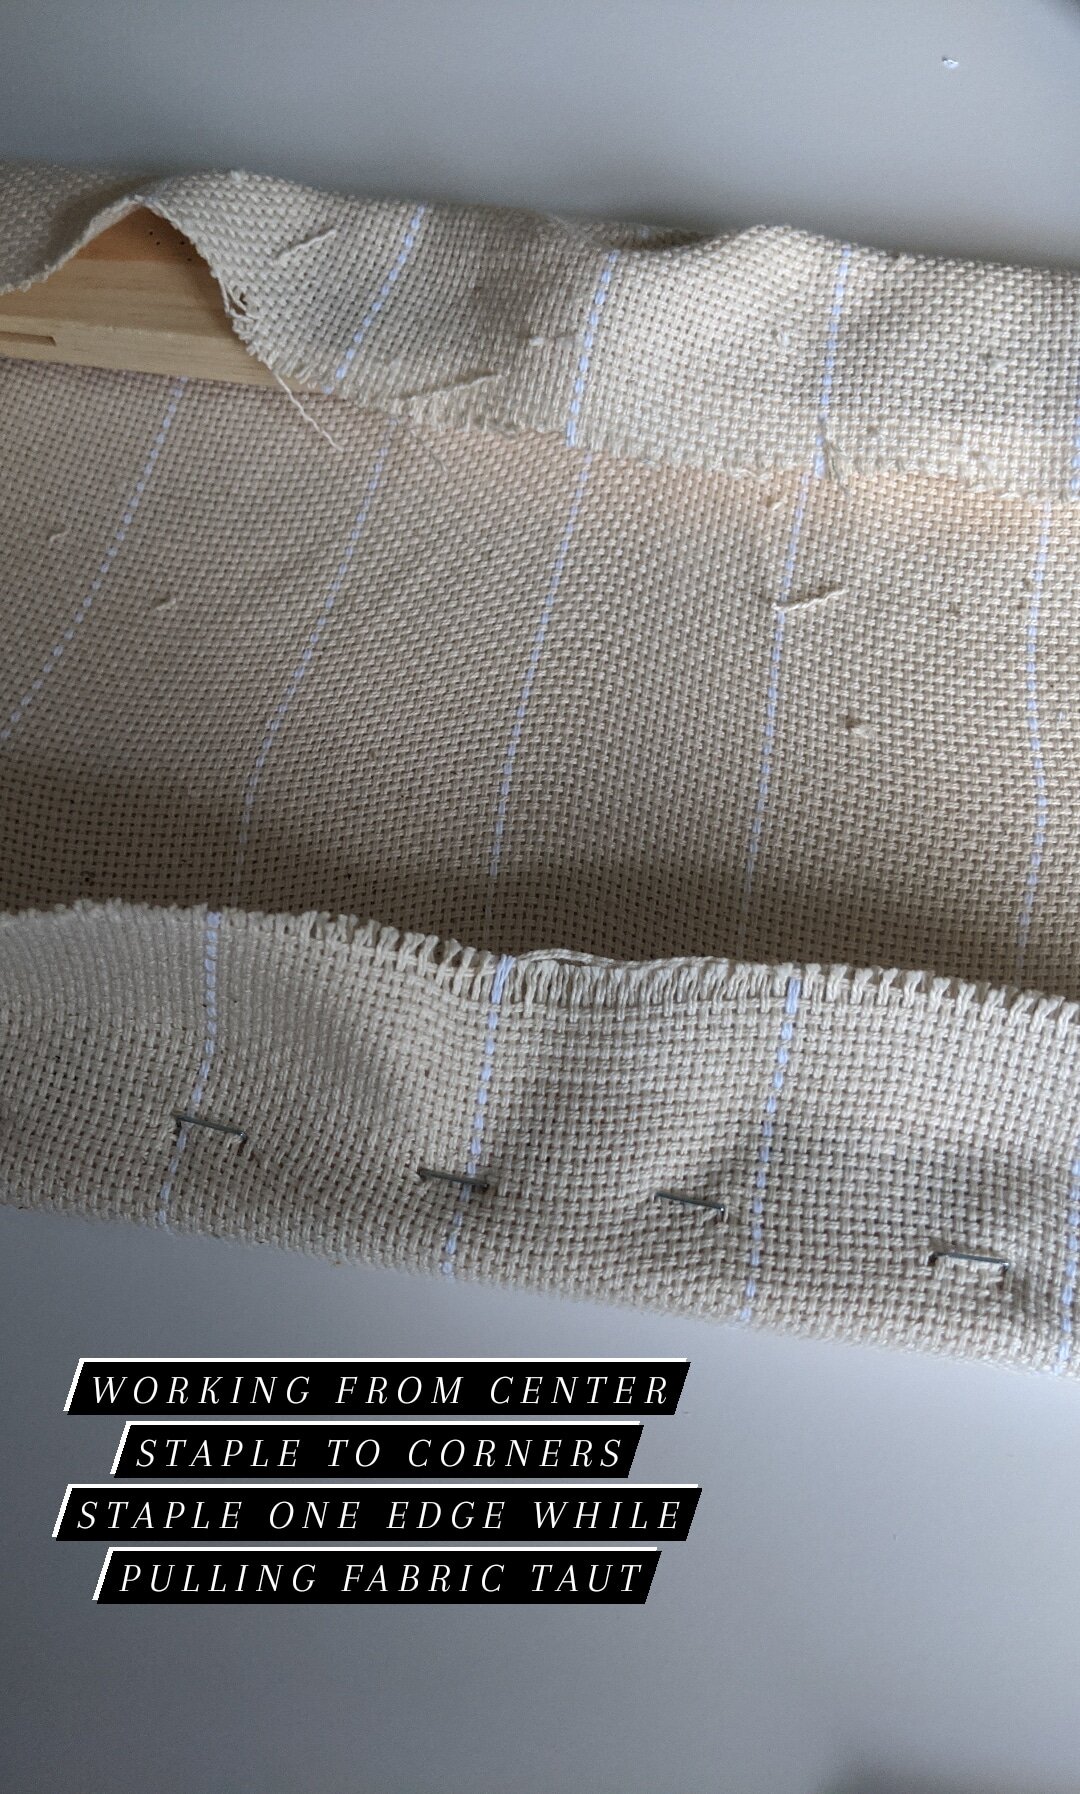
Working from center, staple fabric to corners on one bar while pulling fabric taut
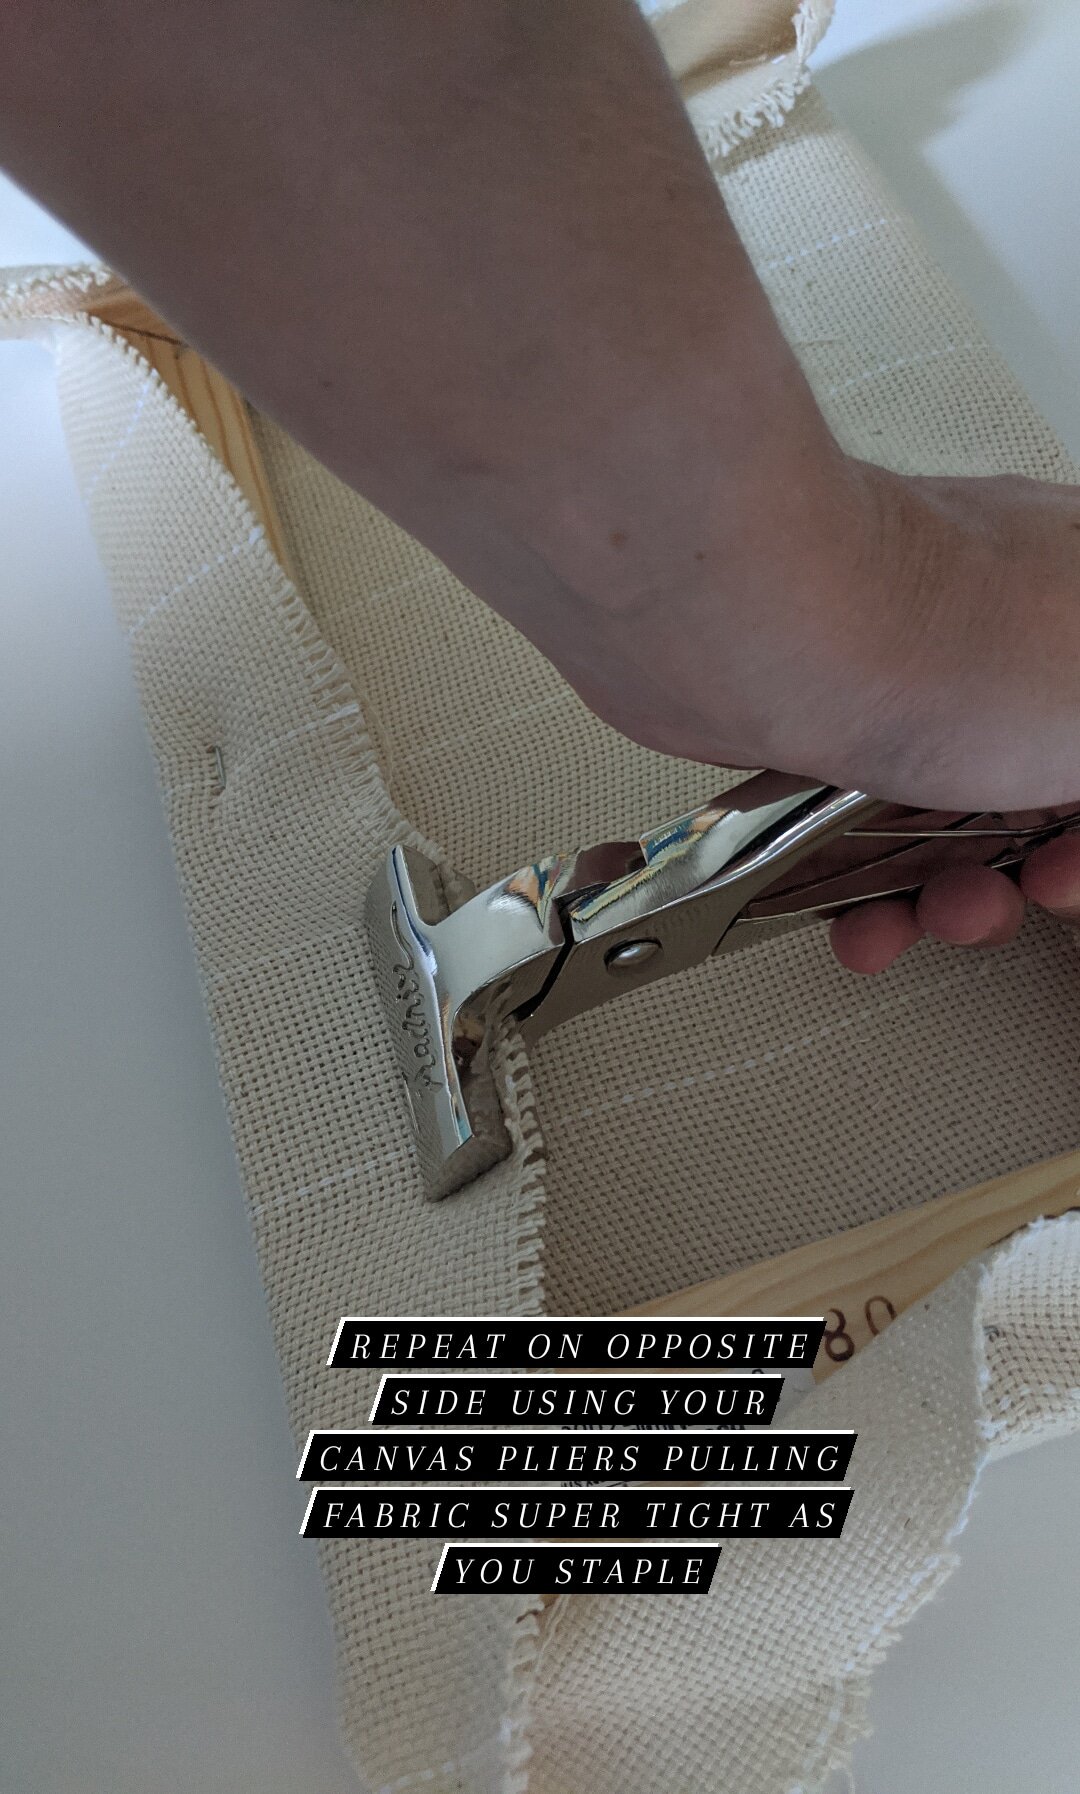
Repeat on opposite side using your canvas pliers pulling fabric super tight as you staple
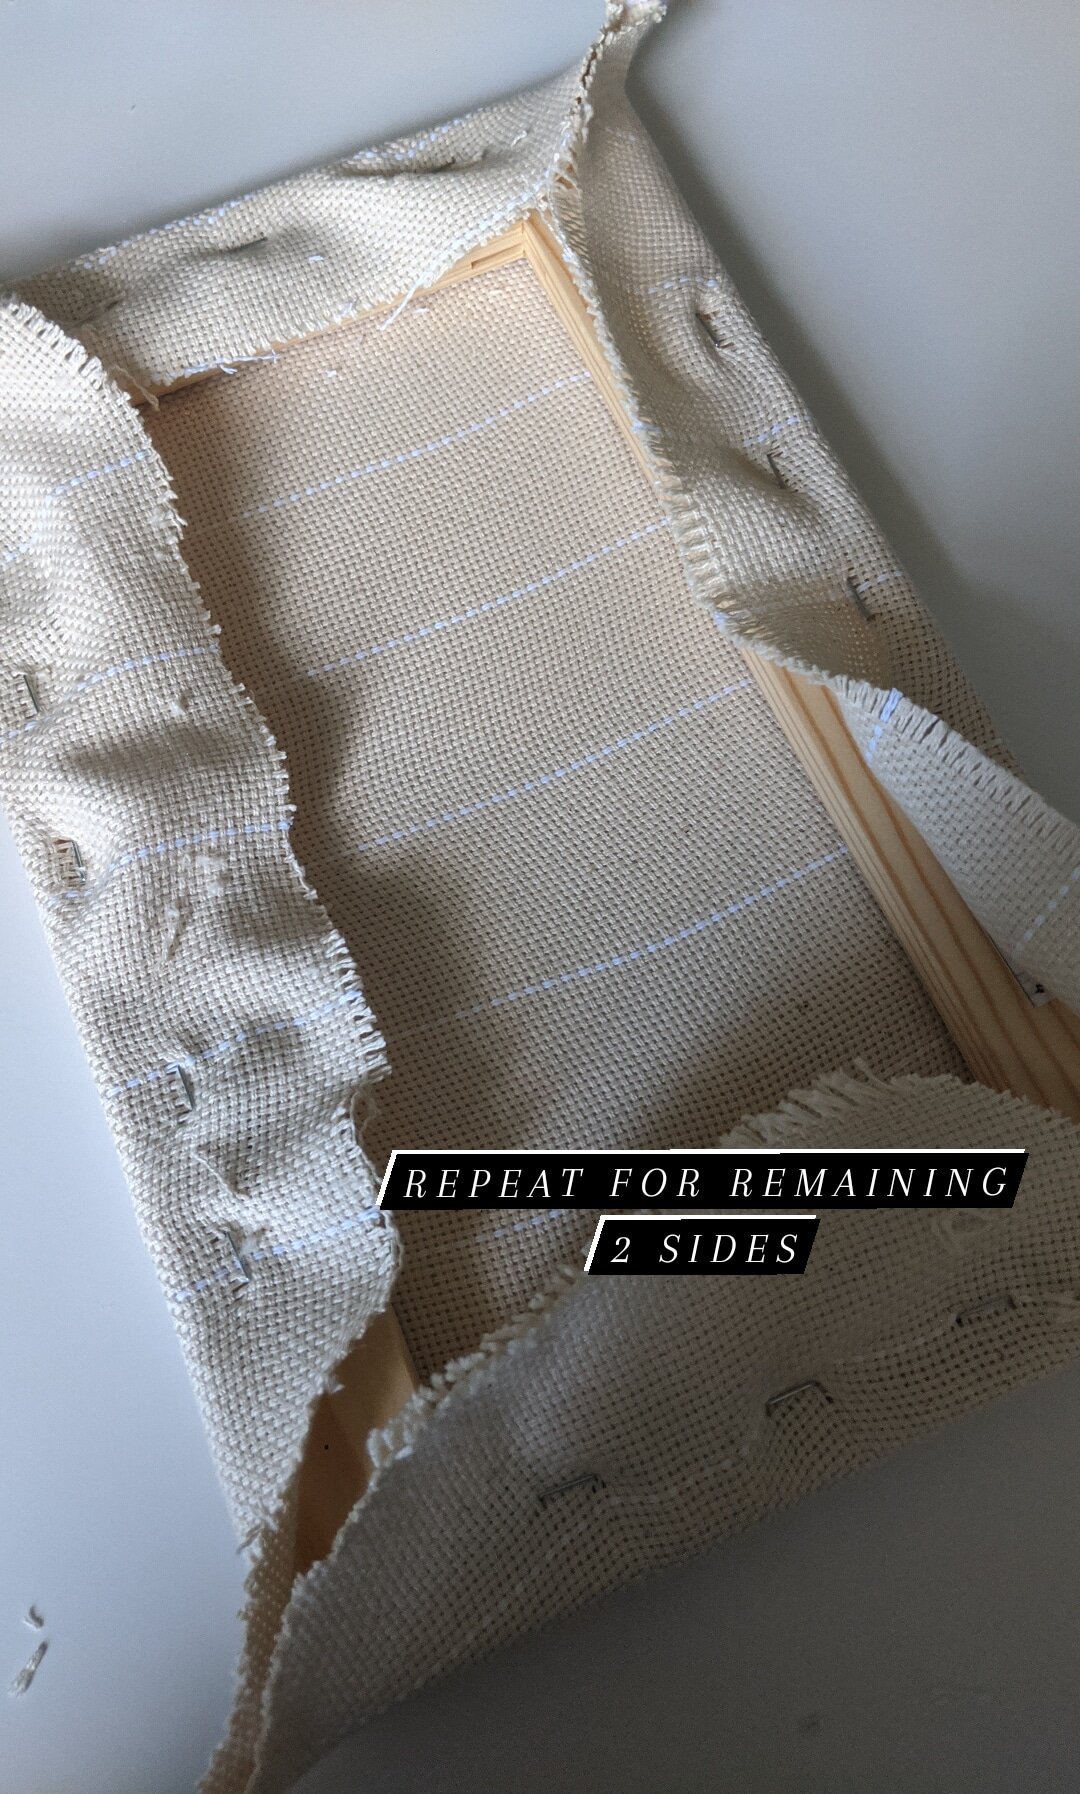
Repeat for remaining 2 sides
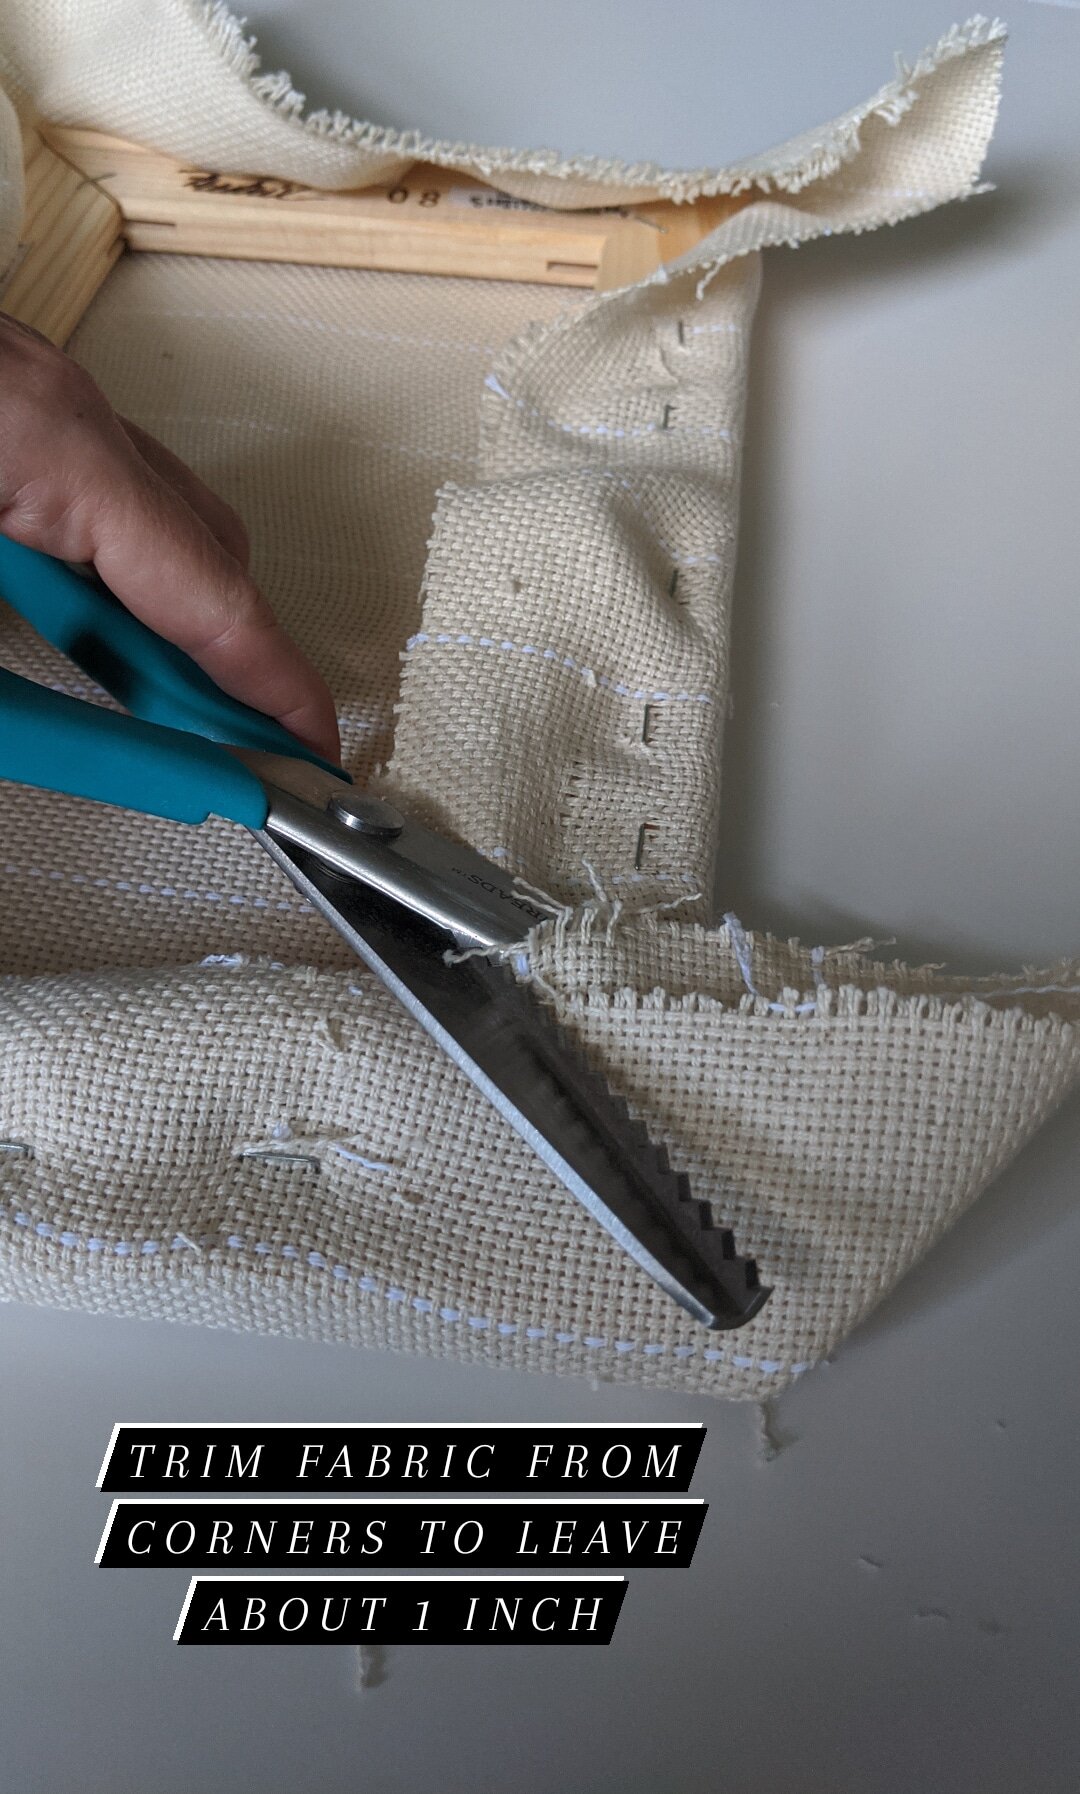
Trim fabric from corners to leave about 1 inch
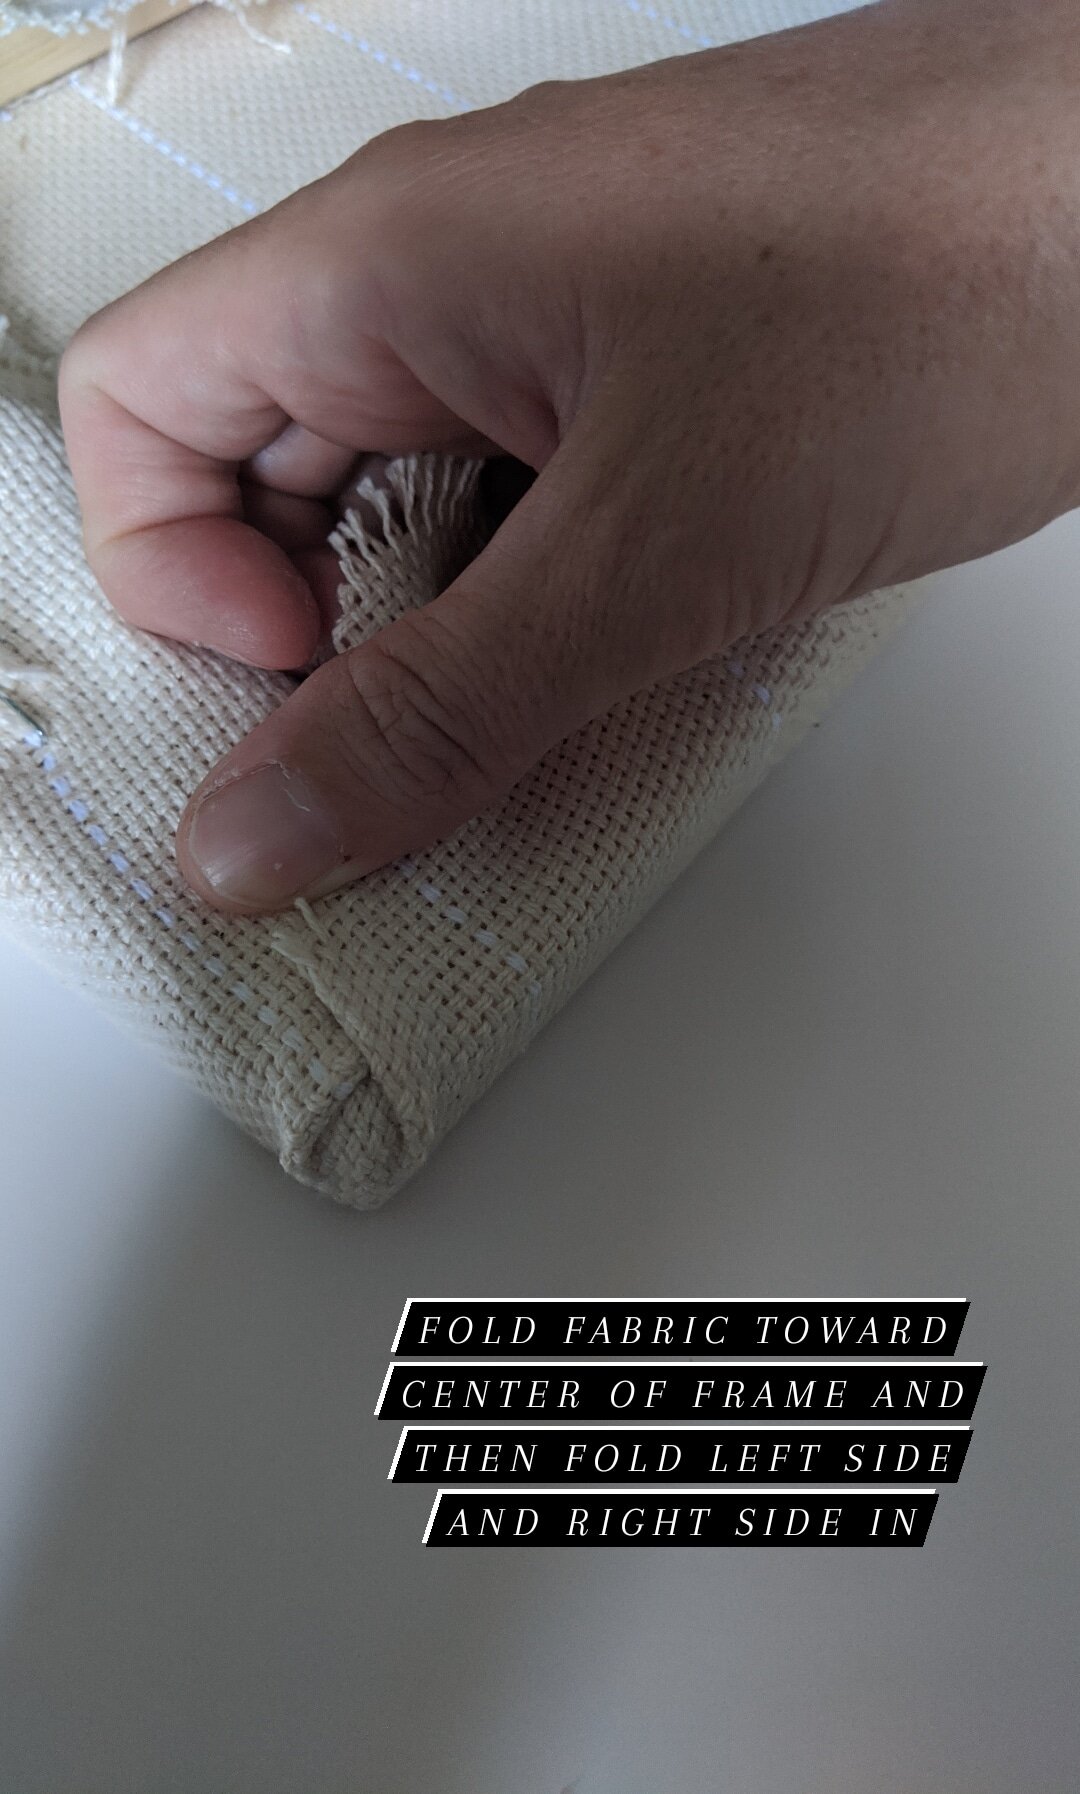
Fold fabric toward center of frame and then fold left and right side in
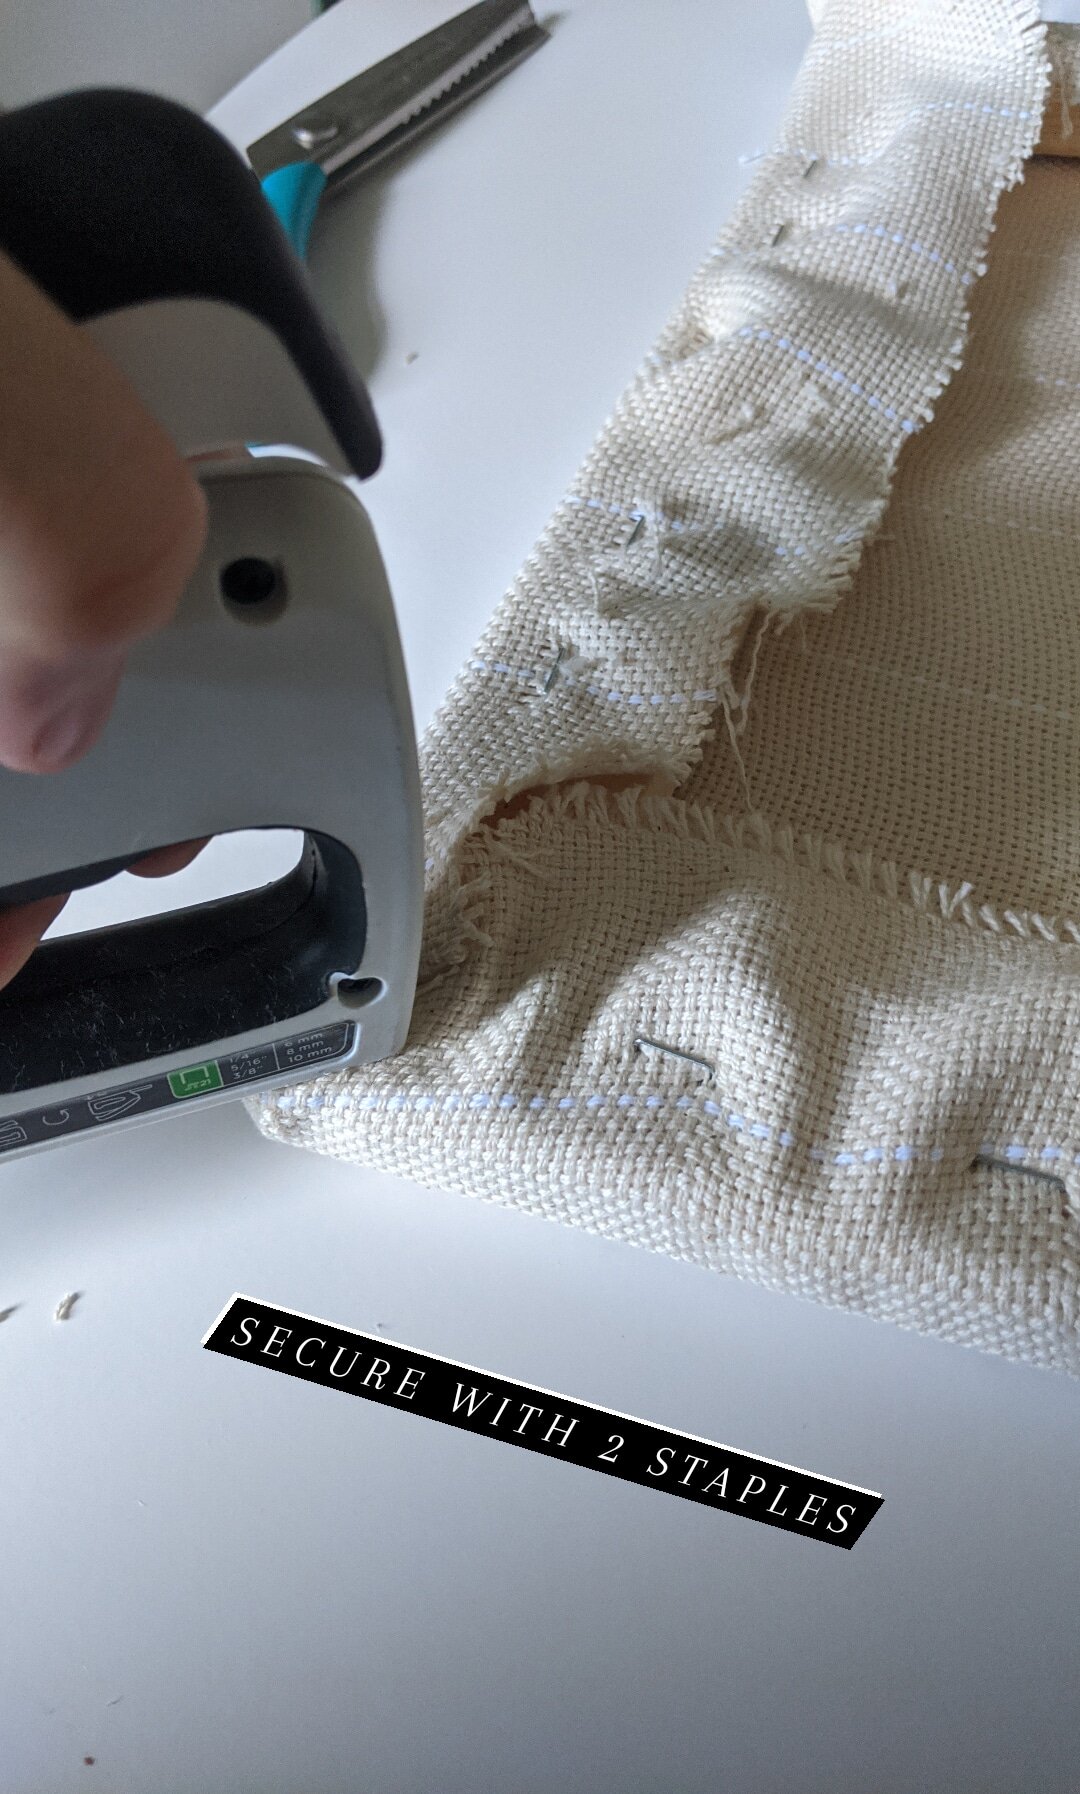
Secure with 2 staples
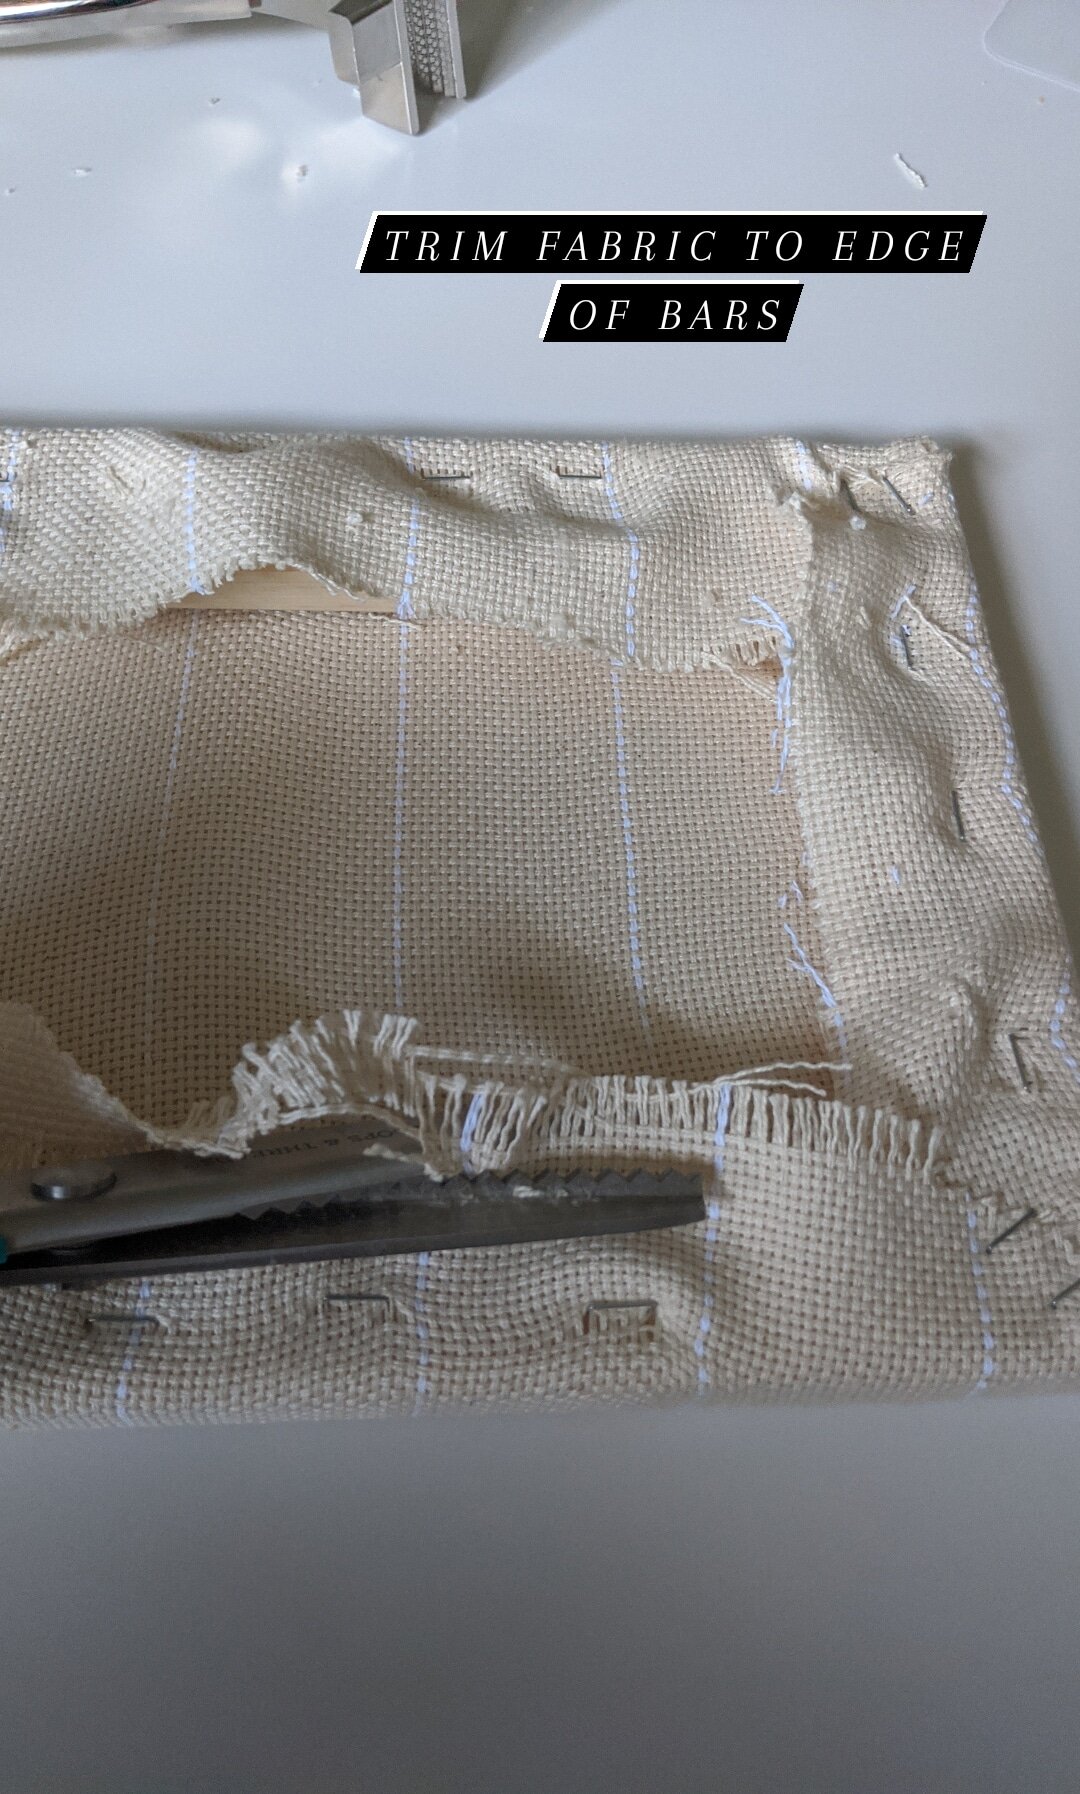
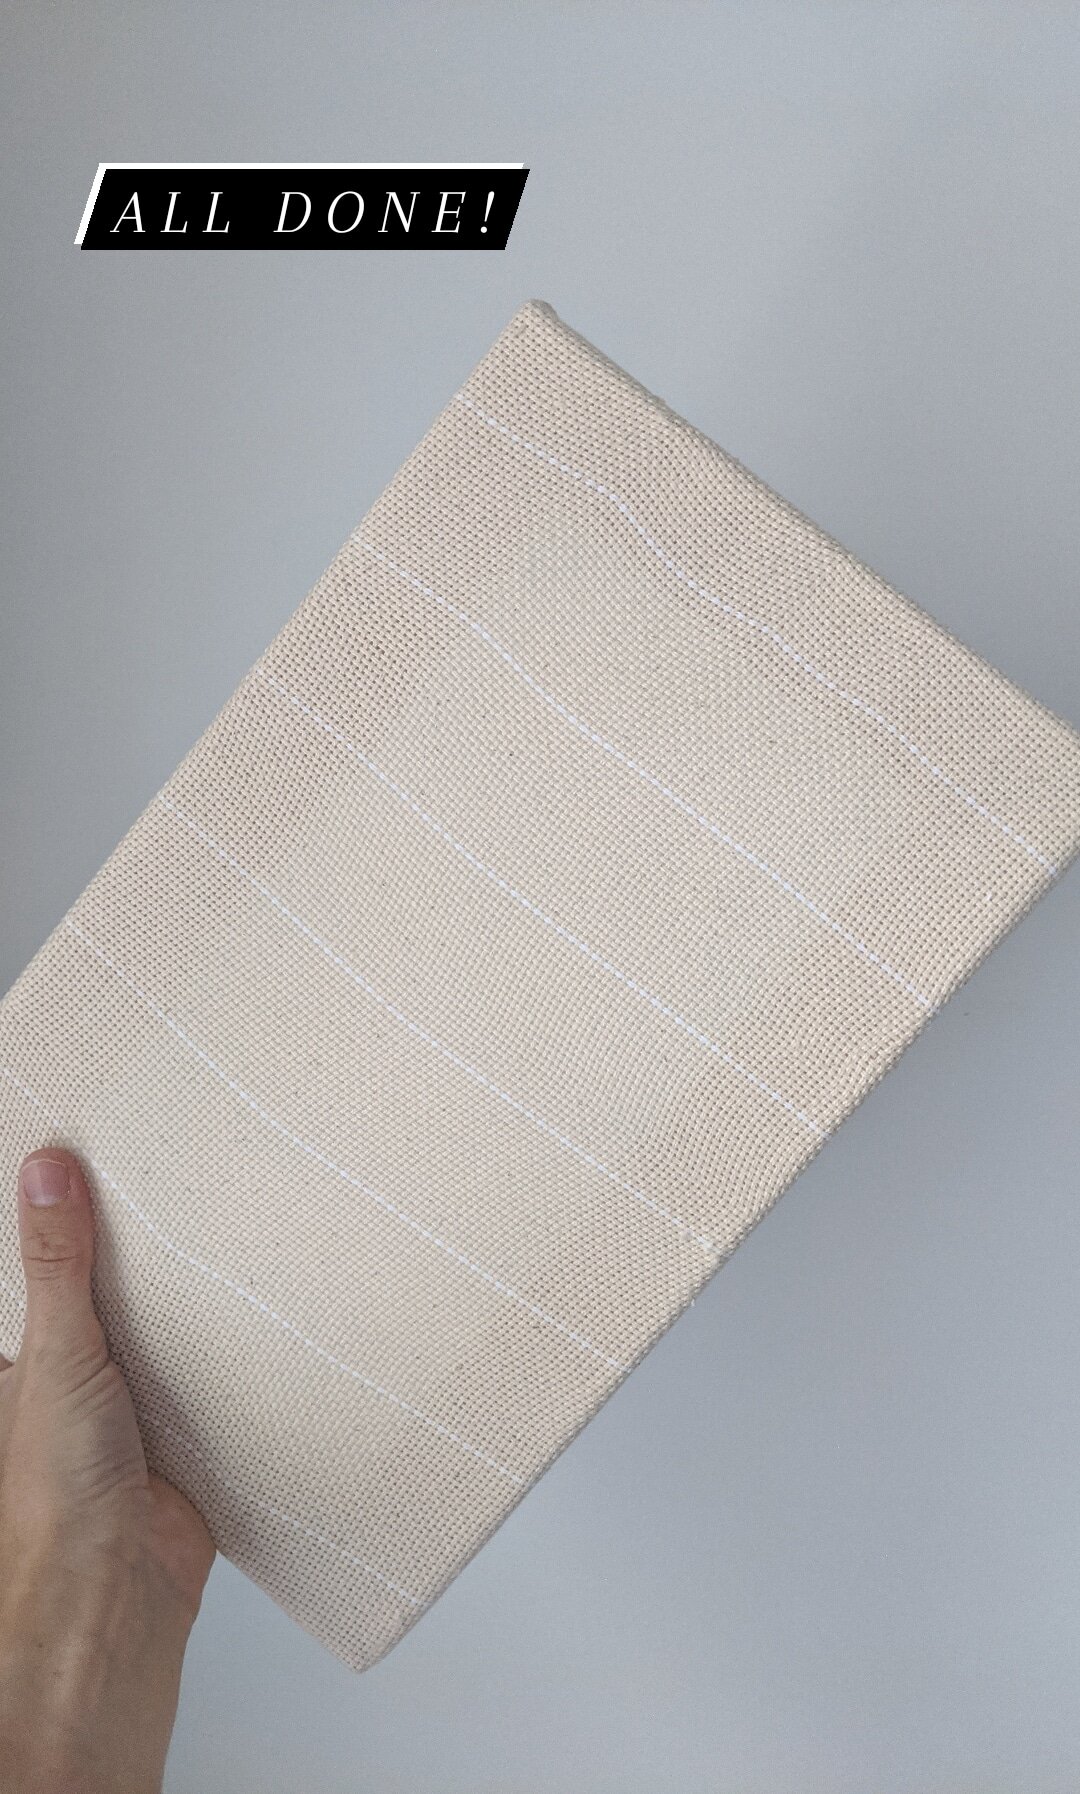
Trim fabric to edge of bars
Fold fabric under and staple to prevent fraying while punching and completely secure fabric
You want your canvas tight like a drum (like you can bounce a coin off it)
You are ready to get punching!